
How to set up your internet device
How to set up your internet device
How to set up your internet device
FAQs
You can read this FAQ in English or Maltese.
You can personalize your Wi-Fi by changing your network name and password. All you need to do is follow these easy steps, but firstly, double-check your modem’s model and follow the instructions below.
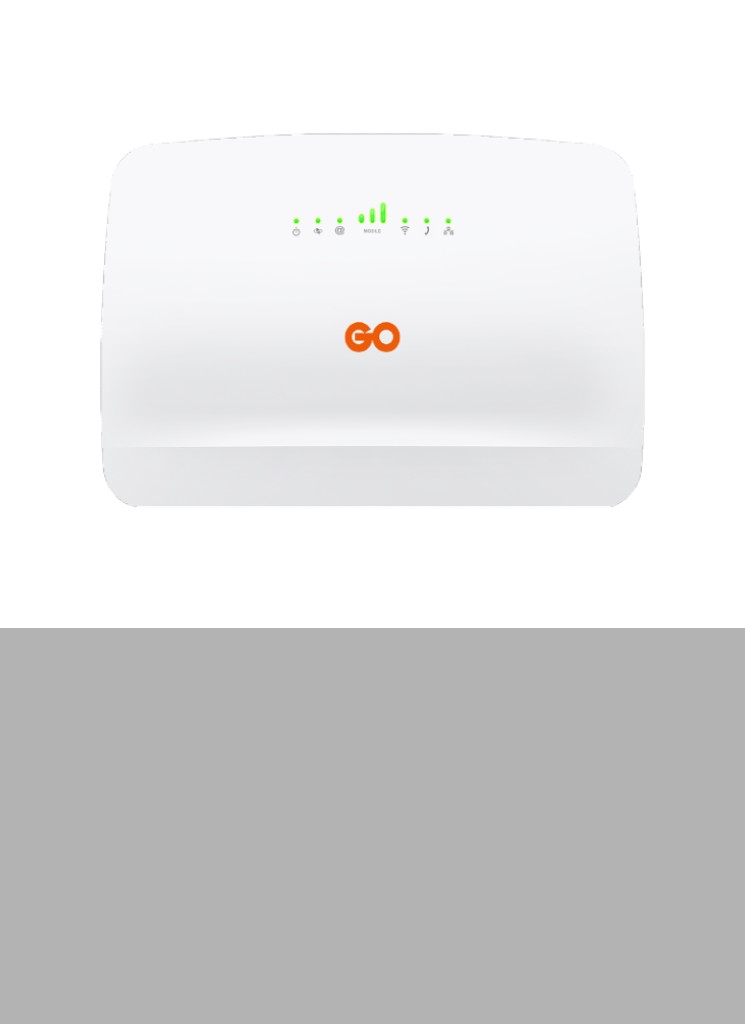
Technicolor DGA0122 / TG789vac v2
- Open an internet browser, and in the URL bar type in ‘192.168.1.254’ (unless you have changed the default IP address) and press the ‘Enter’ button on the keyboard.
- Click on ‘Sign in’ at the top right of the page to log in.
- In the user field enter ‘advanceduser’ and in the password field enter the code found on the label attached to the bottom of the modem, marked as Access Key.
- Click on ‘Sign In’ to log in. Instead of ‘Sign In’ at the top right, you should now see ‘advanceduser’ to confirm that you have logged in with the right account.
- Click on the ‘Wireless’ card.
- Scroll down to the ‘Access Point’ header.
- You may change the wireless network name from ‘SSID name’ and the wireless password from ‘Wireless Password’.
- Click on the ‘Save’ button to save changes.
- Click on the ‘Close’ button to return to the modem’s GUI homepage.
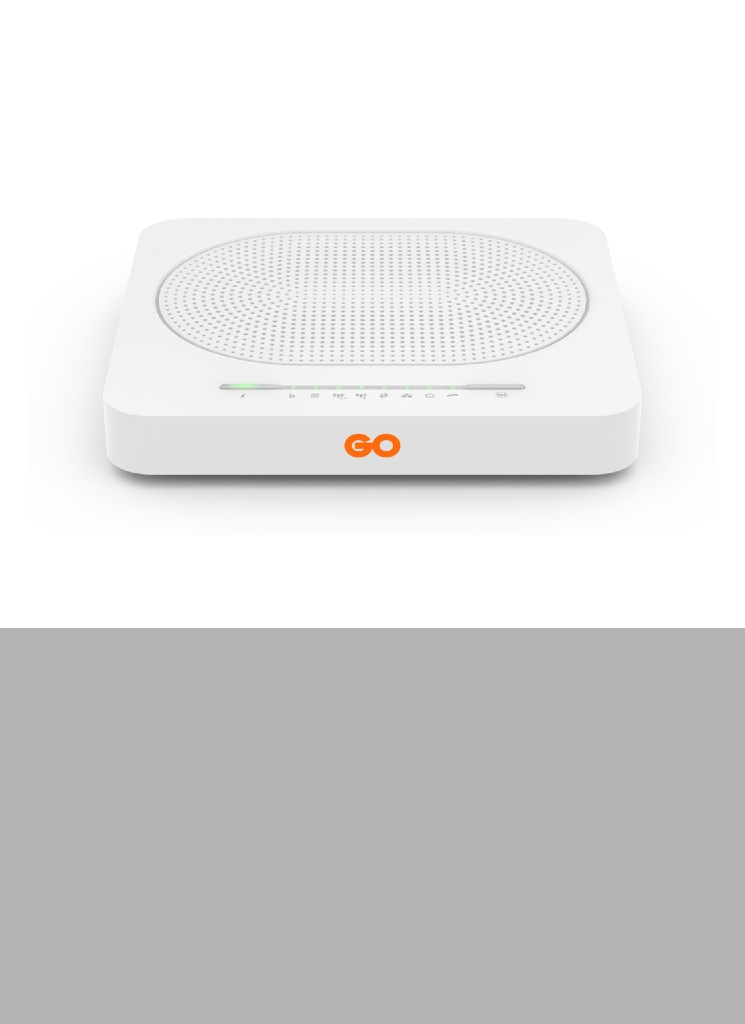
Sagemcom FAST5370AIR
- Open an internet browser, and in the URL bar type in ‘192.168.1.254’ (unless you have changed the default IP address) and press the ‘Enter’ button on the keyboard.
- In the user field enter ‘advanceduser’ and in the password field enter the code found on the label attached to the back of the modem, marked as Web Access Key.
- Click on ‘Login’. At the top right, you should see ‘Logged in as: advanceduser’ which indicates that you have logged in with the right account.
- Click on the ‘Wi-Fi 2.4GHz’ card.
- You may change the wireless network name from ‘SSID’ and the wireless password from ‘Password’ (under the ‘Security’ section). You may change these details for both 2.4GHz and 5GHz Wireless Access Points.
- Click on ‘Apply’ button to save changes.
Technicolor TG799vn v2 / TG588v / TG589vn v3 / TG589vn v2
- Open an internet browser, and in the URL bar type in ‘192.168.1.254’ (unless you have changed the default IP address) and press the ‘Enter’ button on the keyboard.
- Click on ‘User’ on the top left of the page. A new page will appear and then click on ‘Switch to another user’.
- It will ask you for a username and password: use ‘advanceduser’ as the username and ‘advanced’ as the password.
- Instead of ‘user’ at the top left of the page, you should now see ‘advanceduser’ to confirm that you have logged in with the right account.
- Click on the ‘Home Network’ option and then click on the ‘WLAN’ under ‘Wireless’.
- A new page will appear, with all the Wireless information. In order to change the options, click on ‘Configure’ on the top right of the page.
- Under ‘Configuration’ section, find the ‘Network Name (SSID)’. This is the Wireless Network name and you may change it to your preference.
- Under ‘Security’ section, find the ‘WPA-PSK Encryption Key’. This is the Wireless Network password and you may change it to your preference. It is recommended to set Security Mode to ‘WPA-PSK + WPA2-PSK’.
- Click on ‘Apply’ button to save changes.
Nokia modem
- Enter 192.168.1.254 in your browser’s URL bar.
- You will be prompted to enter a username and password. Use username: advanceduser and password: The WiFi Key found on the sticker at the back of the modem.
- Click on Network from the menu on the left-hand side.
- Select Wireless (2.4GHz).
- Scroll down and update the SSID (WiFi name) and WPA Key (WiFi password) as desired.
- Select Wireless (5GHz) and update the SSID and WPA Key there as well, if needed.
- Click Save at the bottom of the page.
Nokia Wi-Fi app
- Log in to the Nokia WiFi app.
- Tap on the network name (the large blue box on the home screen).
- Tap Edit.
- Tap the pencil icon in the top-right corner.
- Tap Continue when prompted.
- Update the WiFi name and password as desired.
- Tap the checkmark icon in the top-right corner to save your changes.
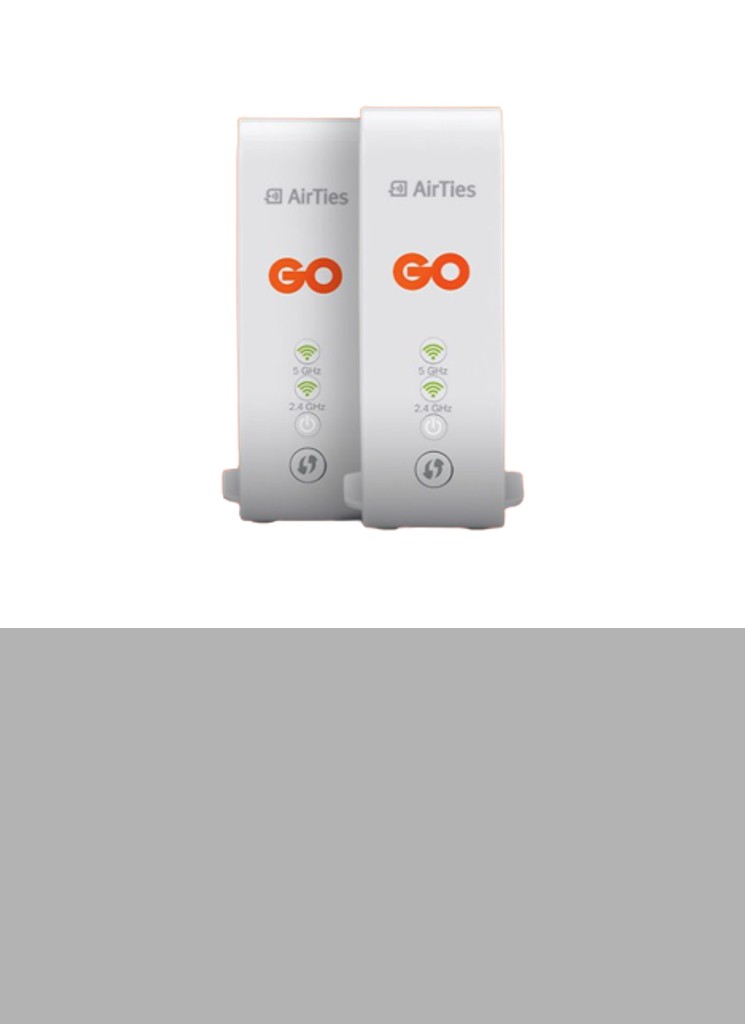
Airties pods
- Download the Airties Vision app from App Store (iOS) or Google Play Store (Android).
- Follow the app’s instructions to set up your account.
- Once logged in, tap on the Settings tab.
- Select Wi-Fi Name & Password, then update your credentials as desired.
- Tap Save to apply the changes.
Kif nibdel l-isem u / jew il-password tan-network tal-WiFi tiegħi?
Tista’ tippersonalizza l-konnessjoni tal-Wi-Fi tiegħek billi tibdel l-isem tan-network u l-password tiegħek. Kull ma trid tagħmel hu li ssegwi dawn il-passi faċli. Nibdew billi l-ewwel nikkonferma l-mudell tal-modem tiegħek.
Technicolor DGA0122 / TG789vacv2
- Iftaħ browser tal-internet, u fil-bar tal-URL ittajpja ‘192.168.1.254’ (sakemm ma bdiltx l-indirizz IP default) u agħfas il-buttuna ‘Enter’ fuq it-tastiera.
- Ikklikkja fuq ‘Sign in’ fin-naħa ta’ fuq tal-lemin tal-paġna biex tidħol.
- Fil-user field daħħal ‘advanceduser’ u bħala password daħħal il-kodiċi li jinsab fuq it-tikketta mwaħħla mal-qiegħ tal-modem, immarkat bħala Access Key.
- Ikklikkja fuq ‘Sign In’ biex tidħol. Minflok ‘Sign In’ fin-naħa ta’ fuq tal-lemin, issa għandek tara ‘advanceduser’ biex tikkonferma li dħalt bil-kont it-tajjeb.
- Ikklikkja fuq ‘Wireless’.
- Skrollja ‘l isfel sakemm tasal fuq ‘Access Point‘.
- Tista’ tibdel l-isem tan-network wireless minn ‘SSID name’ u l-password wireless minn ‘Wireless Password’.
- Ikklikkja fuq il-buttuna ‘Save’ biex izzomm il-bidliet.
- Ikklikkja fuq il-buttuna ‘Close’ biex terġa’ lura għall-homepage tal-GUI tal-modem.
Sagemcom FAST5370AIR
- Iftaħ browser tal-internet, u fil-bar tal-URL ittajpja ‘192.168.1.254’ (sakemm ma bdiltx l-indirizz IP default) u agħfas il-buttuna ‘Enter’.
- Fil-user field daħħal ‘advanceduser’ u bħala password daħħal il-kodiċi li jinsab fuq it-tikketta mwaħħla mal-qiegħ tal-modem, immarkat bħala Web Access Key.
- Ikklikkja fuq ‘Login’. Fin-naħa ta’ fuq tal-lemin, għandek tara ‘Logged in as: advanceduser’ li jindika li dħalt bil-kont it-tajjeb.
- Ikklikkja fuq ‘Wi-Fi 2.4GHz’.
- Tista’ tibdel l-isem tan-network wireless minn ‘SSID name’ u l-password wireless minn ‘Password’ (taħt it-taqsima ‘Security’). Tista’ tibdel dawn id-dettalji kemm għall-Wireless Access Points ta’ 2.4GHz kif ukoll ta’ 5GHz.
- Ikklikkja fuq il-buttuna ‘Apply’ biex izzomm il-bidliet.
TG799vnv2 / TG588v / TG589vnv3 / TG589vnv2
- Iftaħ browser tal-internet, u fil-bar tal-URL ittajpja ‘192.168.1.254’ (sakemm ma bdiltx l-indirizz IP default) u agħfas il-buttuna ‘Enter’.
- Ikklikkja fuq ‘User’ fin-naħa ta’ fuq tax-xellug tal-paġna. Għandha tinfetaħ paġna ġdida u mbagħad ikklikkja fuq ‘Switch to another user’.
- Ħa tintalab għal username u password: uża ‘advanceduser’ bħala l-username u ‘advanced’ bħala l-password.
- Minflok ‘user’ fin-naħa ta’ fuq tax-xellug tal-paġna, issa għandek tara ‘advanceduser’ biex tikkonferma li dħalt bil-kont it-tajjeb.
- Ikklikkja fuq l-għażla ‘Home Network’ u mbagħad ikklikkja fuq ‘WLAN’ taħt ‘Wireless’.
- Għandha tinfetaħ paġna ġdida, bl-informazzjoni kollha dwar il-Wireless. Sabiex tibdel l-għażliet, ikklikkja fuq ‘Configure‘ fin-naħa ta’ fuq tal-lemin tal-paġna.
- Taħt it-taqsima ‘Configure’, sib l-‘Network Name (SSID)‘. Dan huwa l-isem tal-Wireless Network u tista’ tbiddel skont il-preferenza tiegħek.
- Taħt it-taqsima ‘Security’, sib il-‘WPA-PSK Encryption Key’. Din hija l- tal-Wireless Network u tista’ tibdilha skont il-preferenza tiegħek. Huwa rakkomandat li tissettja s-Security Mode għal ‘WPA-PSK + WPA2-PSK’.
- Ikklikkja fuq il-buttuna ‘Apply’ biex izzomm il-bidliet.
In some cases, other gadgets like your neighbour’s modem or other equipment may interfere with your Wi-Fi signal. If you’re having such an issue, you can try changing the Channel and see if doing so will make a difference. Firstly confirm your modem’s model before following the below instructions.
Technicolor TG789vac v2
- Open an internet browser, and in the URL bar, type in ‘192.168.1.254‘ (unless you have changed the default IP address) and press the ‘Enter‘ button on the keyboard.
- Click on ‘User‘ on the top left of the page. A new page will appear, and click on ‘Switch to another user’.
- It will ask you for a username and password: use ‘advanceduser‘ as the username and ‘advanced‘ as the password.
- Instead of ‘user‘ at the top left of the page, you should now see ‘advanceduser‘ to confirm that you have logged in with the correct account.
- Click on ‘Wireless‘ under the ‘Home Network’ option.
- A new page will appear, with all the Wireless information. To change the options, click on ‘Configure‘ on the top right of the page.
- Change ‘Channel Selection‘ from ‘Automatic‘ to ‘Manual‘ from the drop-down list. Then select your preferred Wi-Fi channel from the ‘Channel‘ drop-down list. Ideally, channel 1, 6 or 11 is selected.
- Click on the ‘Apply‘ button to save changes.
- Click on the ‘Close‘ button to return to the modem’s GUI homepage.
Technicolor DGA0122
- Open an internet browser, and in the URL bar, type in ‘192.168.1.254‘ (unless you have changed the default IP address) and press the ‘Enter‘ button on the keyboard.
- Click on ‘Sign in‘ at the top right of the page to log in.
- In the user field, enter ‘advanceduser‘ and in the password field, enter the code found on the label attached to the bottom of the modem, marked as Access Key.
- Click on ‘Sign In‘ to log in. Instead of ‘Sign In‘ at the top right, you should now see ‘advanceduser‘ to confirm that you have logged in with the correct account.
- Click on the ‘Wireless‘ card.
- You will see ‘Channel‘ under the ‘Interface‘ section with a drop-down menu.
- Change ‘Channel Selection‘ from ‘Auto‘ to a channel from the drop-down list. Ideally, channel 1, 6 or 11 is selected.
- Click on the ‘Save‘ button to save changes.
- Click on the ‘Close‘ button to return to the modem’s GUI homepage.
Sagemcom FAST5370AIR
- Open an internet browser, and in the URL bar, type in ‘192.168.1.254‘ (unless you have changed the default IP address) and press the ‘Enter‘ button on the keyboard.
- In the user field, enter ‘advanceduser‘ and in the password field, enter the code found on the label attached to the back of the modem, marked as Web Access Key.
- Click on ‘Login‘. At the top right, you should see ‘Logged in as: advanceduser‘, which indicates that you have logged in with the correct account.
- Click on the ‘Wi-Fi‘ card.
- Change ‘Channel Selection’ from ‘AUTO‘ to a channel from the drop-down list. Ideally, channel 1, 6 or 11 is selected.
- Click on the ‘Apply‘ button to save changes.
Technicolor TG799vn v2/ TG588v/ TG589vn v3/ TG589vn v2
- Open an internet browser, and in the URL bar, type in ‘192.168.1.254‘ (unless you have changed the default IP address) and press the ‘Enter‘ button on the keyboard.
- Click on ‘User‘ on the top left of the page. A new page will appear, and click on ‘Switch to another user‘.
- It will ask you for a username and password: use ‘advanceduser‘ as the username and ‘advanced‘ as the password.
- Instead of ‘user‘ at the top left of the page, you should now see ‘advanceduser‘ to confirm that you have logged in with the correct account.
- Click on ‘Wireless‘ under the ‘Home Network’ option.
- A new page will appear, with all the Wireless information. To change the options, click on ‘Configure‘ on the top right of the page.
- Change ‘Channel Selection‘ from ‘Automatic‘ to ‘Manual‘ from the drop-down list. Then select your preferred Wi-Fi channel from the ‘Channel‘ drop-down list. Ideally, channel 1, 6 or 11 is selected.
- Click on the ‘Apply‘ button to save changes.
Port forwarding is a way of making a computer on your home or business network accessible to computers on the internet and it is commonly used in gaming, security cameras and home automation, amongst other things.
All you need to do to set port forwarding on your modem is follow these easy steps. Firstly, confirm your modem’s model before following these instructions:
Technicolor TG789vac v2
- Open an internet browser, and in the URL bar, type in ‘192.168.1.254’ (unless you have changed the default IP address) and press the ‘Enter’ button on the keyboard.
- Click on ‘Sign in’ at the top right of the page to log in.
- In the user field enter ‘advanceduser’ and in the password field enter the code found on the label attached to the bottom of the modem, marked as Access Key.
- Instead of ‘Sign In’ at the top right, you should now see ‘advanceduser’ to confirm that you have logged in with the correct account.
- Click on the ‘WAN Services’ card.
- Click on ‘Add new IPv4 port mapping’.
- Type in the ‘Name’ for the port forwarding entry, choose the ‘Protocol’ [TCP or UDP or TCP/UDP], type in the ‘WAN port’ and ‘LAN port’. Once you start typing the ‘Destination IP’, a dropdown menu will appear and list all devices on the local network. Select the Device/ IP address for which you want to configure the port forwarding entry.
Optional: To access your device remotely from a range of port numbers, you may use ‘:’ between port numbers in ‘WAN port’ and ‘LAN port’. - Click on the ‘+’ sign under ‘Destination MAC’ to add the port forwarding entry. The ‘Destination MAC’ will populate itself automatically.
Note: If the ‘Destination MAC’ is not populated, the port forwarding entry will not work. - Click on the ‘Close’ button to return to the modem’s GUI homepage.
Technicolor DGA0122
- Open an internet browser, and in the URL bar, type in ‘192.168.1.254’ (unless you have changed the default IP address) and press the ‘Enter’ button on the keyboard.
- Click on ‘Sign in’ at the top right of the page to log in.
- In the user field, enter ‘advanceduser’ and in the password field, enter the code found on the label attached to the bottom of the modem, marked as Access Key.
- Click on ‘Sign In’ to log in. Instead of ‘Sign In’ at the top right, you should now see ‘advanceduser’ to confirm that you have logged in with the correct account.
- Click on the ‘WAN Services’ card.
- Click on ‘Add new IPv4 port mapping’.
- Type in the ‘Name’ for the port forwarding entry, choose the ‘Protocol’ [TCP or UDP or TCP/UDP], type in the ‘WAN port’ and ‘LAN port’. Once you start typing the ‘Destination IP’, a dropdown menu will appear and list all devices on the local network. Select the Device/ IP address for which you want to configure the port forwarding entry.
Optional: To access your device remotely from a range of port numbers, you may use ‘:’ between port numbers in ‘WAN port’ and ‘LAN port’. - Click on the ‘+’ sign under ‘Destination MAC’ to add the port forwarding entry. The ‘Destination MAC’ will populate itself automatically.
Note: If the ‘Destination MAC’ is not populated, the port forwarding entry will not work. - Click on the ‘Close’ button to return to the modem’s GUI homepage.
Sagemcom FAST5370AIR
- Open an internet browser, and in the URL bar, type in ‘192.168.1.254’ (unless you have changed the default IP address) and press the ‘Enter’ button on the keyboard.
- In the user field, enter ‘advanceduser’, and in the password field, enter the code found on the label at the back of the modem, marked as Web Access Key.
- Click on ‘Login’. At the top right, you should see ‘Logged in as: advanceduser’, which indicates that you have logged in with the correct account.
- Click on the ‘Access Control’ card.
- Click on ‘Port Forwarding’.
- Scroll down to ‘Add Rules Manually’.
- Type in the ‘Custom service name’ for the port forwarding entry.
- Choose the ‘Service’ [leave it set to ‘Other’].
- Choose the ‘Protocol’ [TCP or UDP or TCP/UDP].
- Type in ‘*’ for ‘External host’.
- Type in the ‘External port’ and ‘Internal port’.
- Type in the private IP address of the device next for ‘Internal host’.
- Leave ‘Connection’ set to default. ‘Fixed Connection’ as port forwarding entries will only work for fixed connections. It will not work for mobile connections.
- Click on the ‘Add’ button to add the port forwarding rule.
Technicolor TG799vn v2/ TG588v/ TG589vn v3/ TG589vn v2
- Open an internet browser, and in the URL bar, type in ‘192.168.1.254’ (unless you have changed the default IP address) and press the ‘Enter’ button on the keyboard.
- Click on ‘User’ on the top left of the page. A new page will appear, and click on ‘Switch to another user’.
- It will ask you for a username and password: use ‘advanceduser’ as the username and ‘advanced’ as the password.
- Instead of ‘user’ at the top left of the page, you should now see ‘advanceduser’ to confirm that you have logged in with the correct account.
- Click on ‘Toolbox’, then click on ‘Game & Application Sharing’ and click on ‘Create a new game or application’.
- Set a name for the port forwarding entry next to ‘Name’ and choose ‘Manual Entry of Port Maps’. Click on the ‘Next’ button to continue.
- Choose ‘Protocol’ from the dropdown menu. The options are ‘Any’, ‘TCP’ or ‘UDP’.
Note: If you are unsure if the requested port is TCP or UDP, choose ‘Any’. - Type in the port/s you want to open under ‘Port Range’. Then click on the ‘Add’ button.
- Click on ‘Assign a game or application to a local network device’ to assign port forwarding entry to a local/private IP address.
- Under ‘Game or Application’, select the Application Name (set in step 6) from the dropdown menu.
- Under ‘Device’, select ‘User-defined’ and type in the local/private IP address for which you would like to set the port forwarding.
- Click on the ‘Apply’ button to assign the port forwarding rule.
Band steering allows you to connect to the best frequency band available and supported so that your Wi-Fi connectivity is optimal.
Firstly, confirm your modem’s model before following these instructions:
Technicolor TG789vac v2
- Open an internet browser, and in the URL bar, type in ‘192.168.1.254’ (unless you have changed the default IP address) and press the ‘Enter’ button on the keyboard.
- Click on ‘Sign in’ at the top right of the page to log in.
- It will ask for a username and password: use ‘advanceduser’ as the username and ‘advanced’ as the password.
- Click on ‘Sign In’ to log in. Instead of ‘Sign In’ at the top right, you should now see ‘advanceduser’ to confirm that you have logged in with the correct account.
- Click on the ‘Wireless’ card.
- Scroll down to ‘Band Steering Enabled’. By default, band steering is enabled.
- Click on the toggle switch to disable the band steering feature.
- Click on the ‘Save’ button to save changes.
- Click on the ‘Close’ button to return to the modem’s GUI homepage.
Technicolor DGA0122
- Open an internet browser, and in the URL bar, type in ‘192.168.1.254’ (unless you have changed the default IP address) and press the ‘Enter’ button on the keyboard.
- Click on ‘Sign in’ at the top right of the page to log in.
- In the user field, enter ‘advanceduser’ and in the password field, enter the code found on the label attached to the bottom of the modem, marked as Access Key.
- Click on ‘Sign In’ to log in. Instead of ‘Sign In’ at the top right, you should now see ‘advanceduser’ to confirm that you have logged in with the correct account.
- Click on the ‘Wireless’ card.
- Scroll down to ‘Band Steering Enabled’. By default, band steering is enabled.
- Click on the toggle switch to disable the band steering feature.
- Click on the ‘Save’ button to save changes.
- Click on the ‘Close’ button to return to the modem’s GUI homepage.
Sagemcom FAST5370AIR
- Open an internet browser, and in the URL bar, type in ‘192.168.1.254’ (unless you have changed the default IP address) and press the ‘Enter’ button on the keyboard.
- In the user field, enter ‘advanceduser’ and in the password field, enter the code found on the label attached to the back of the modem, marked as Web Access Key.
- Click on ‘Login’. At the top right, you should see ‘Logged in as: advanceduser’, which indicates that you have logged in with the correct account.
- Click on the ‘Wi-Fi 2.4GHz’ card.
- Under ‘Basic’, find ‘Band steering’. By default, the band steering is disabled.
- Click on the toggle switch to enable the band steering feature.
- Scroll down and click on ‘Apply’ to save changes.